How To Remove Ceiling Tiles: A Step-by-Step Guide
Ever glanced upwards and felt the oppressive weight of outdated ceiling tiles? Transforming a space can be as simple as refreshing the ceiling, and surprisingly, it's often a project within easy reach for the DIY enthusiast.
Understanding the nuances of ceiling tile removal is the first step towards a successful upgrade. Different tile types demand different approaches, from the delicate handling of glued tiles to the relatively straightforward removal of drop-ceiling panels. Choosing the right tools and techniques can significantly impact both the speed and the cleanliness of the project, preventing unnecessary damage and frustration. This guide will navigate you through the process, providing expert insights and practical advice for achieving professional-looking results.
| Ceiling Tile Removal Information | Details |
|---|---|
| Common Tile Types | Drop Ceiling, Interlocking, Glued Directly, Glued to Furring Strips |
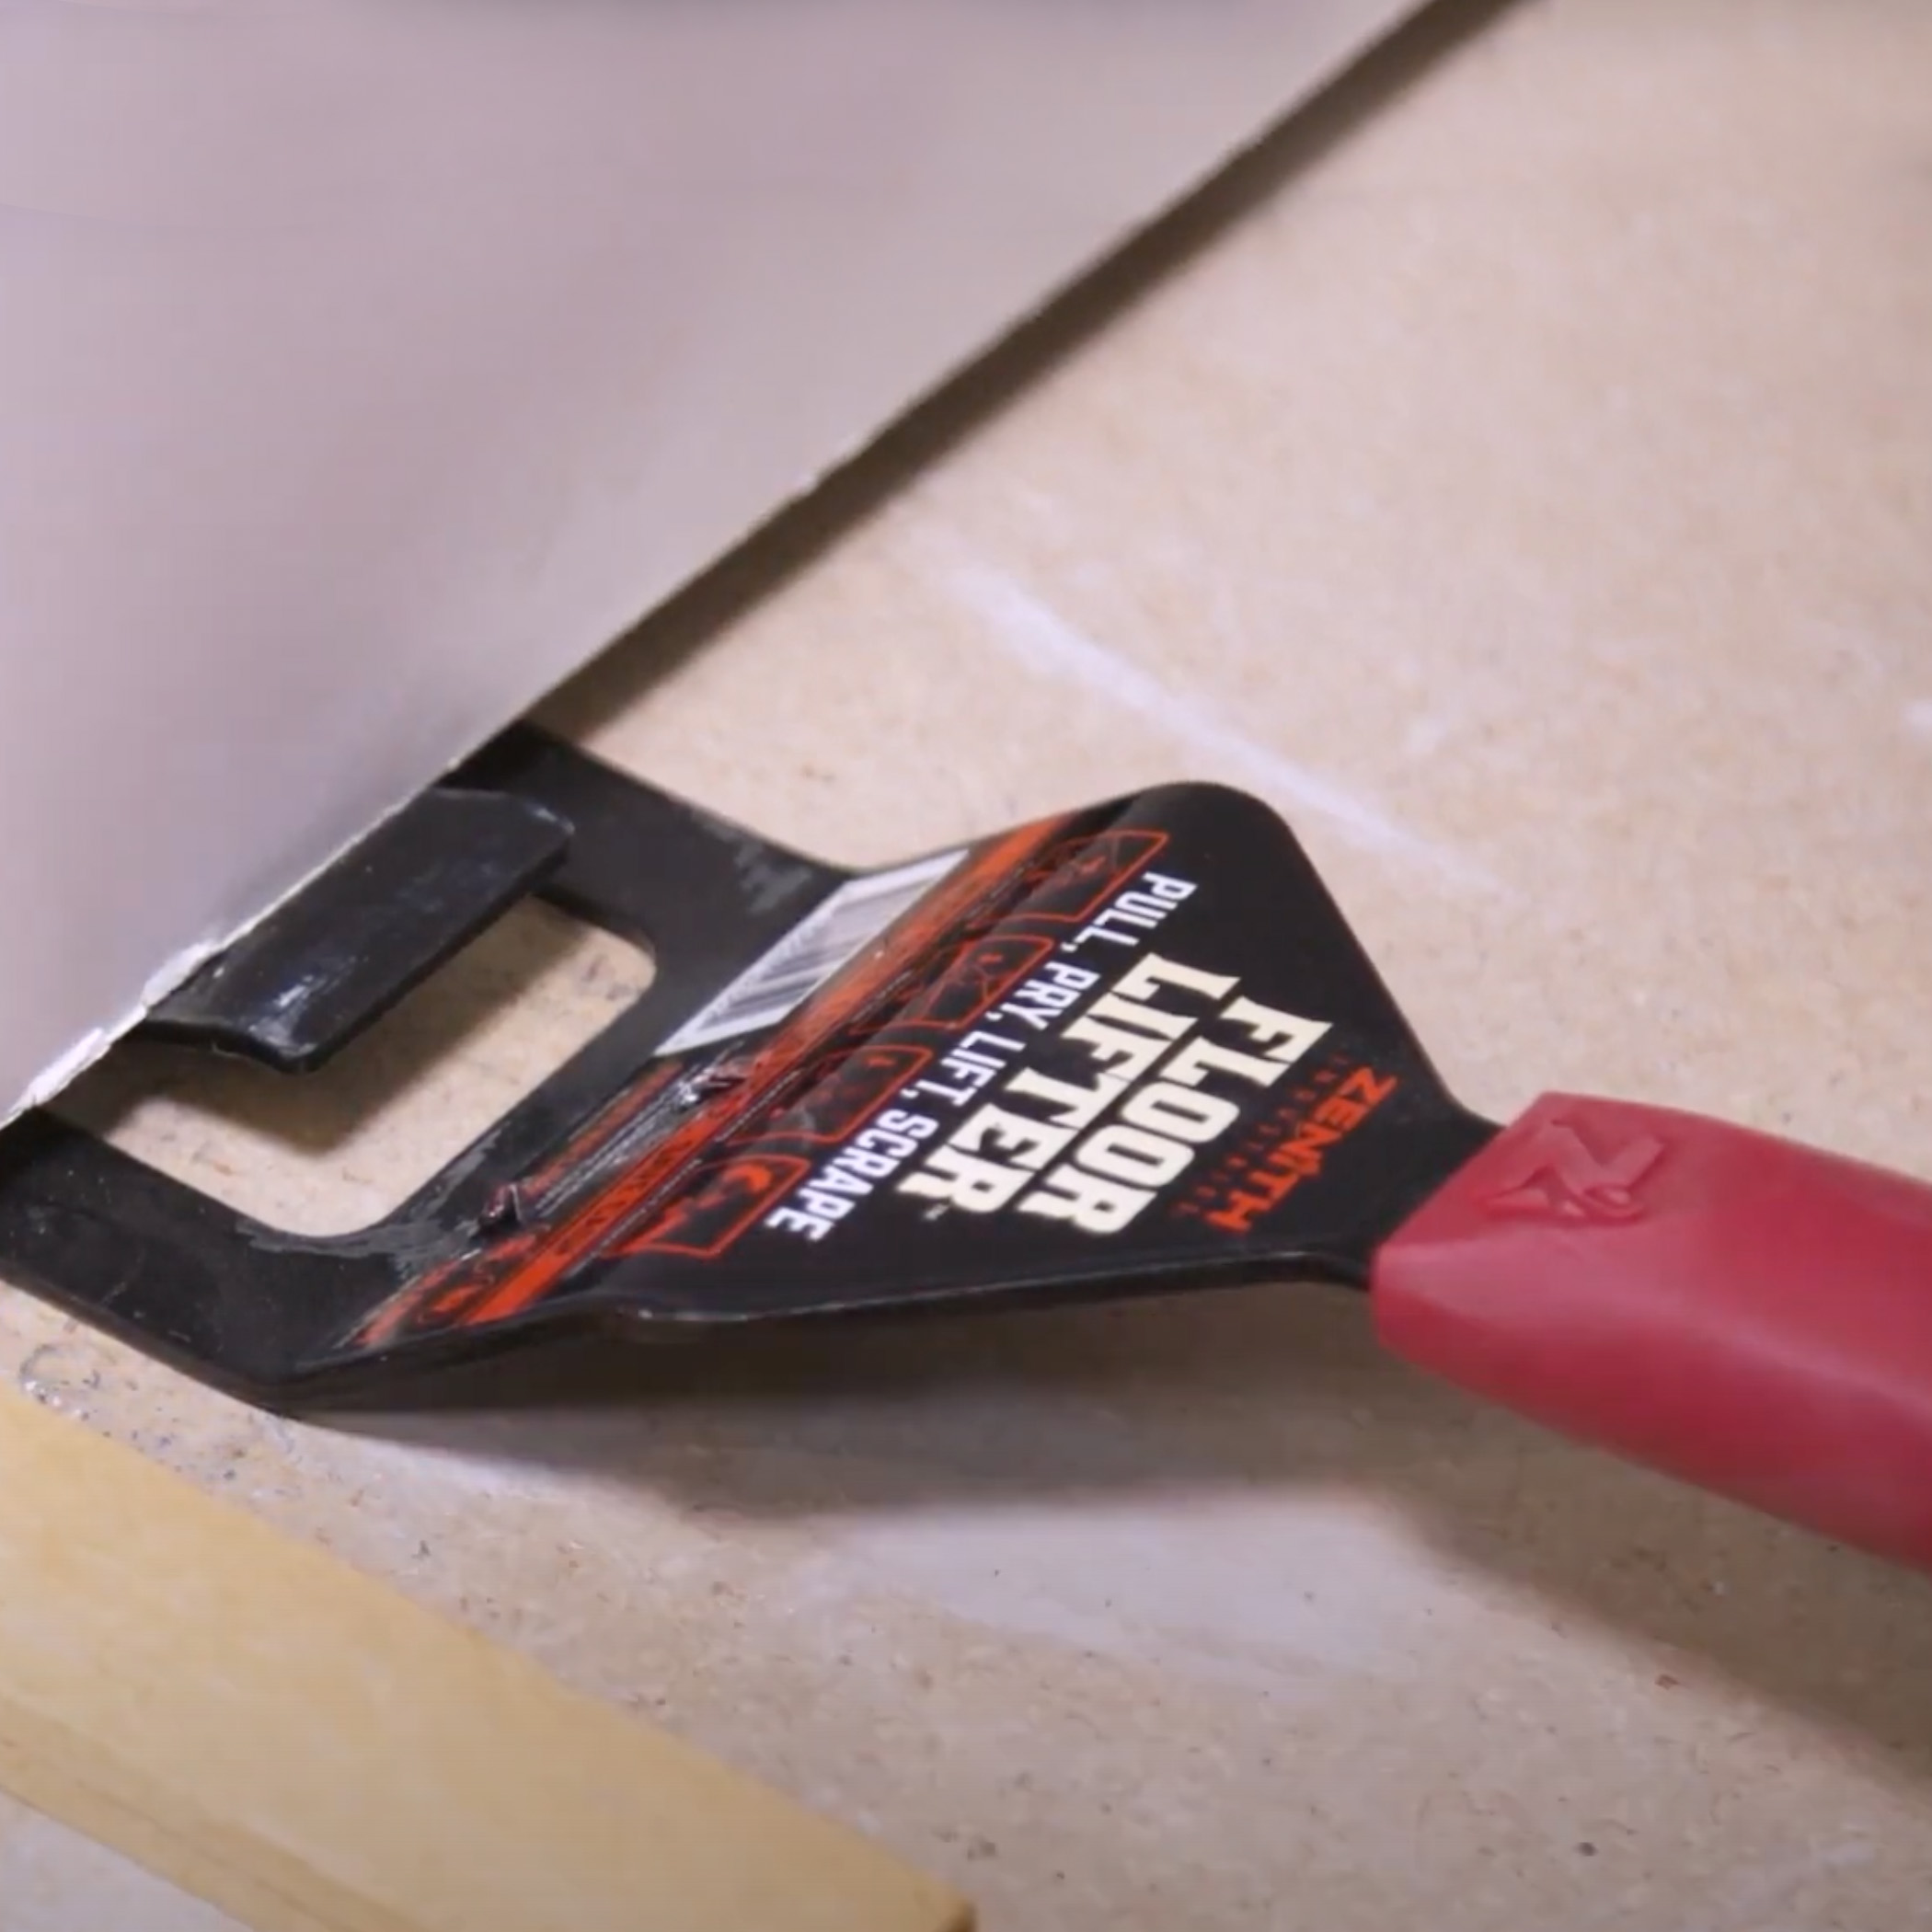
| Tools for Removal | Utility Knife, Spatula, Tile Lifter/Puller, (Specialized tools like the Tilerex or Stingray for specific applications) |
| Safety Considerations | Wear safety glasses, ensure stable footing, exercise caution with sharp tools. |
| Disposal | Check local regulations for proper disposal of old ceiling tiles. Recycling is often an option. |
| Additional Resources | Lowe's Ceiling Tile Tools & Hardware |
Before embarking on any ceiling tile removal project, careful assessment is crucial. Determine the type of tiles you have. Are they the easily maneuverable drop-ceiling variety, resting within a grid system? Or are they adhered directly to the ceiling, potentially requiring more specialized tools and a gentler touch? Glued tiles can present a particular challenge. Tiles glued directly to the ceiling often necessitate more effort and potentially specialized tools to avoid damage. Those affixed to furring strips, however, may prove easier to detach.
For drop ceilings, the process is generally more straightforward. Gently push the tile upwards into the ceiling cavity and then maneuver it down through the grid opening. However, this seemingly simple process can be complicated by factors like brittle tiles, which are prone to cracking, and the presence of wiring or ductwork in the ceiling cavity.
Interlocking tiles, commonly found in older homes, require a different approach. Starting in a corner, carefully pry a tile loose with a putty knife or specialized tile removal tool. The interlocking mechanism often necessitates a specific lifting and twisting motion to disengage the tiles without breakage.
Regardless of the tile type, appropriate tools are essential. A utility knife can be useful for scoring glued tiles to break the adhesive bond. A sturdy spatula or putty knife can assist in prying tiles loose. For metal ceiling tiles, a specialized tile lifter or puller provides enhanced grip and leverage, minimizing the risk of damage.
Investing in specialized tools like the Tilerex or Stingray can significantly simplify the process. The Tilerex, designed for suspended ceilings, allows for the removal of tiles whole, facilitating recycling and minimizing disposal costs. The Stingray, on the other hand, offers a safe and effective way to run cables through drop ceilings without tangling or damaging the grid.
Beyond removal, consider the environmental impact. Tiles in good condition can often be recycled, reducing landfill waste. Check with your local recycling center for guidelines and options.
Safety should always be a priority. Wear safety glasses to protect your eyes from dust and debris. Ensure secure footing with a stable ladder or platform. Exercise caution when using sharp tools and be mindful of any wiring or fixtures within the ceiling cavity.
Running cables through a drop ceiling often accompanies tile removal or replacement. Tools like the Stingray cable pulling tool simplify this process, preventing cable damage and ensuring a clean installation.
From the initial assessment to the final cleanup, understanding the nuances of ceiling tile removal can transform a daunting task into a manageable project. By selecting the appropriate tools and techniques, you can achieve professional-looking results and enhance the aesthetic appeal of your space.
The availability of a wide range of tiling tools, both online and in-store, makes sourcing the right equipment convenient. Remember to consider the specific demands of your project, from the tile type to the scope of the work, when selecting your tools. A well-equipped toolkit will contribute to a smoother, more efficient, and ultimately, more satisfying renovation experience.
For larger-scale projects or challenging tile removal scenarios, consider consulting a professional. Their expertise and specialized equipment can ensure a safe and efficient outcome, minimizing the risk of damage and maximizing the longevity of your new ceiling.


